

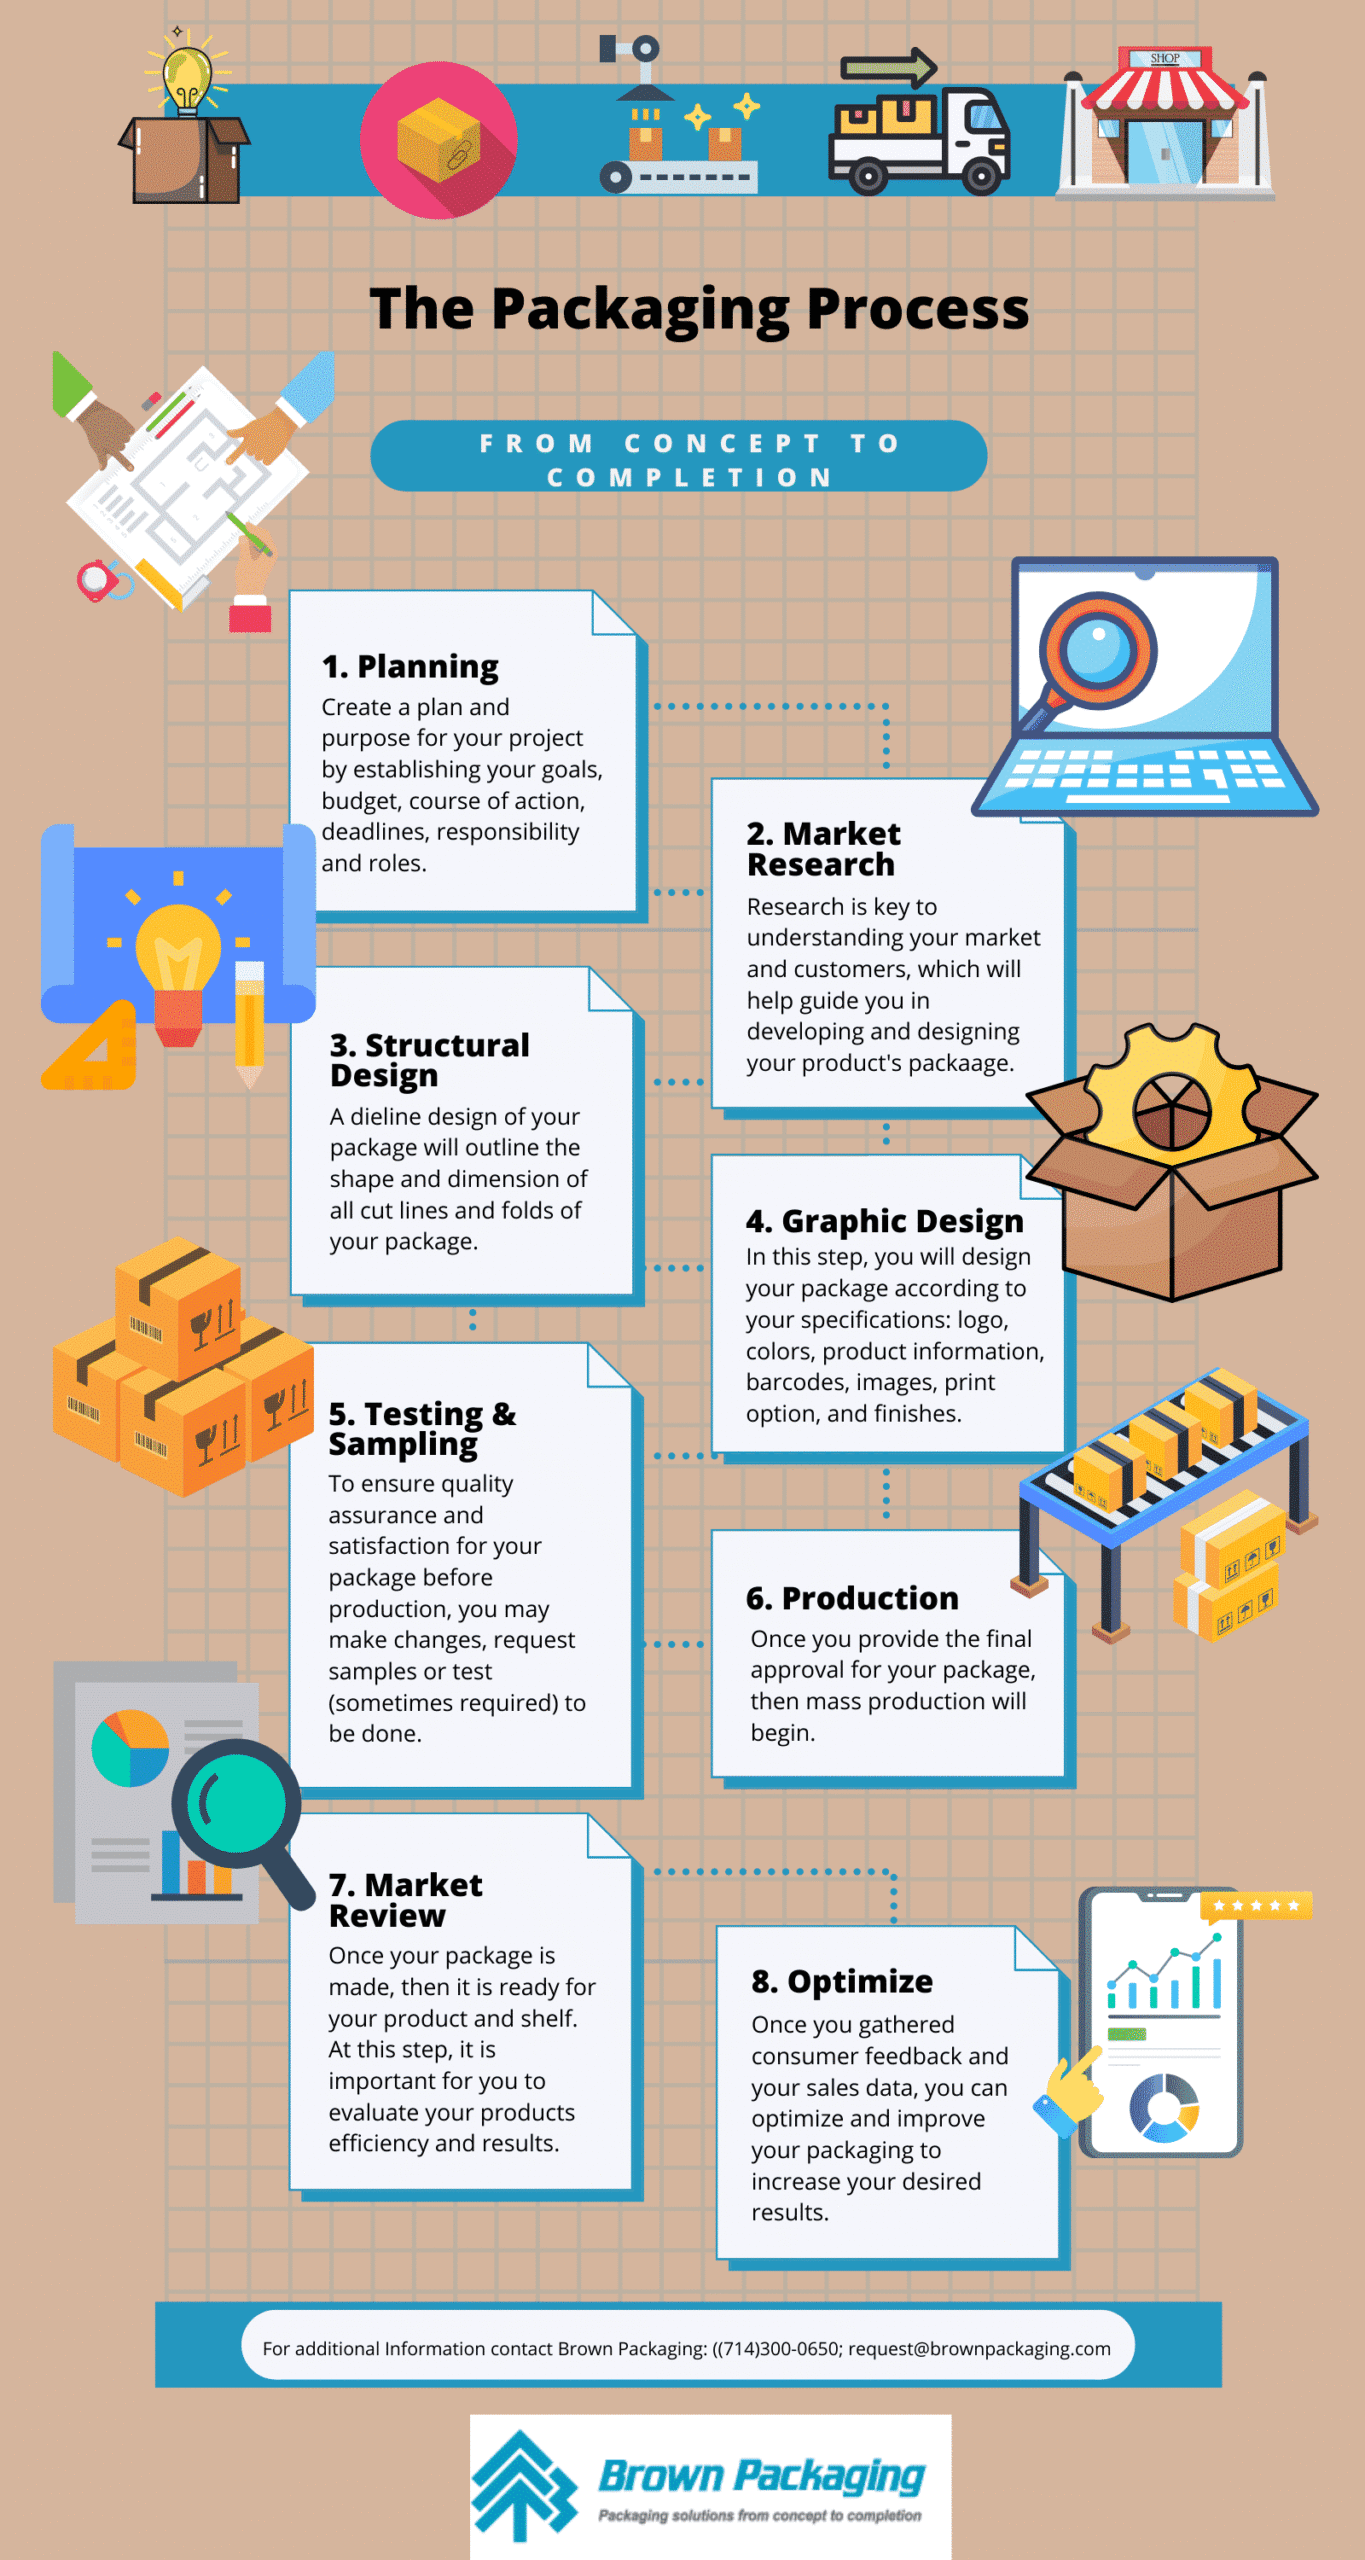

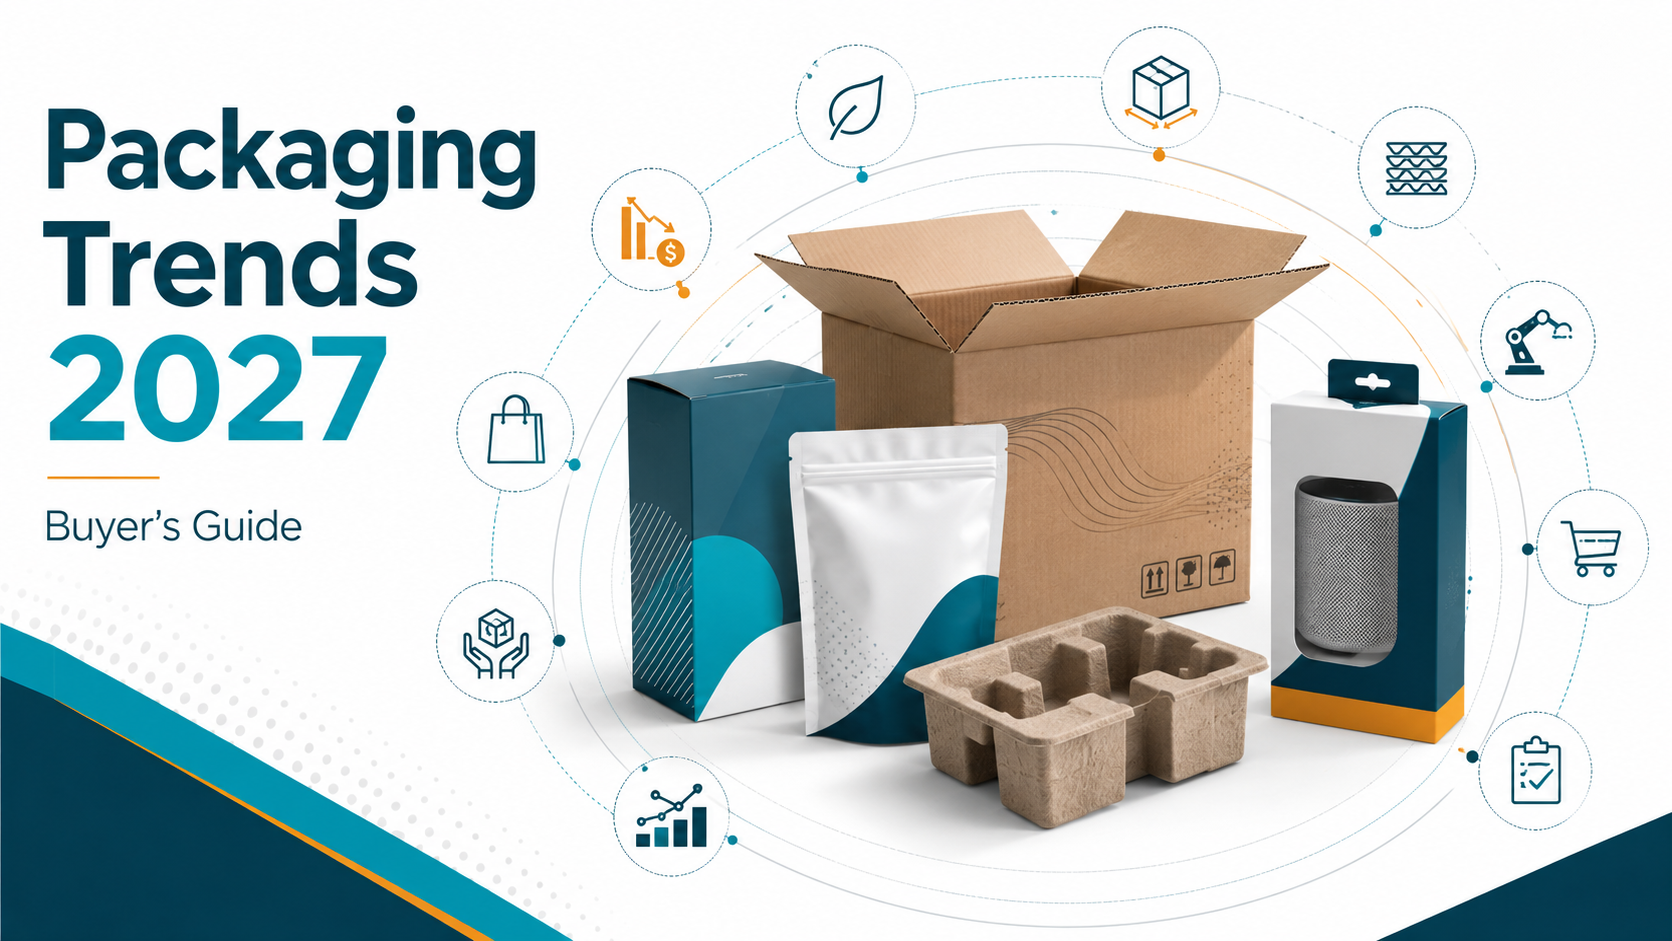
Packaging
Packaging trends in 2027 will be shaped by one major reality: buyers are no longer looking at packaging as just a box, carton, insert, pouch,
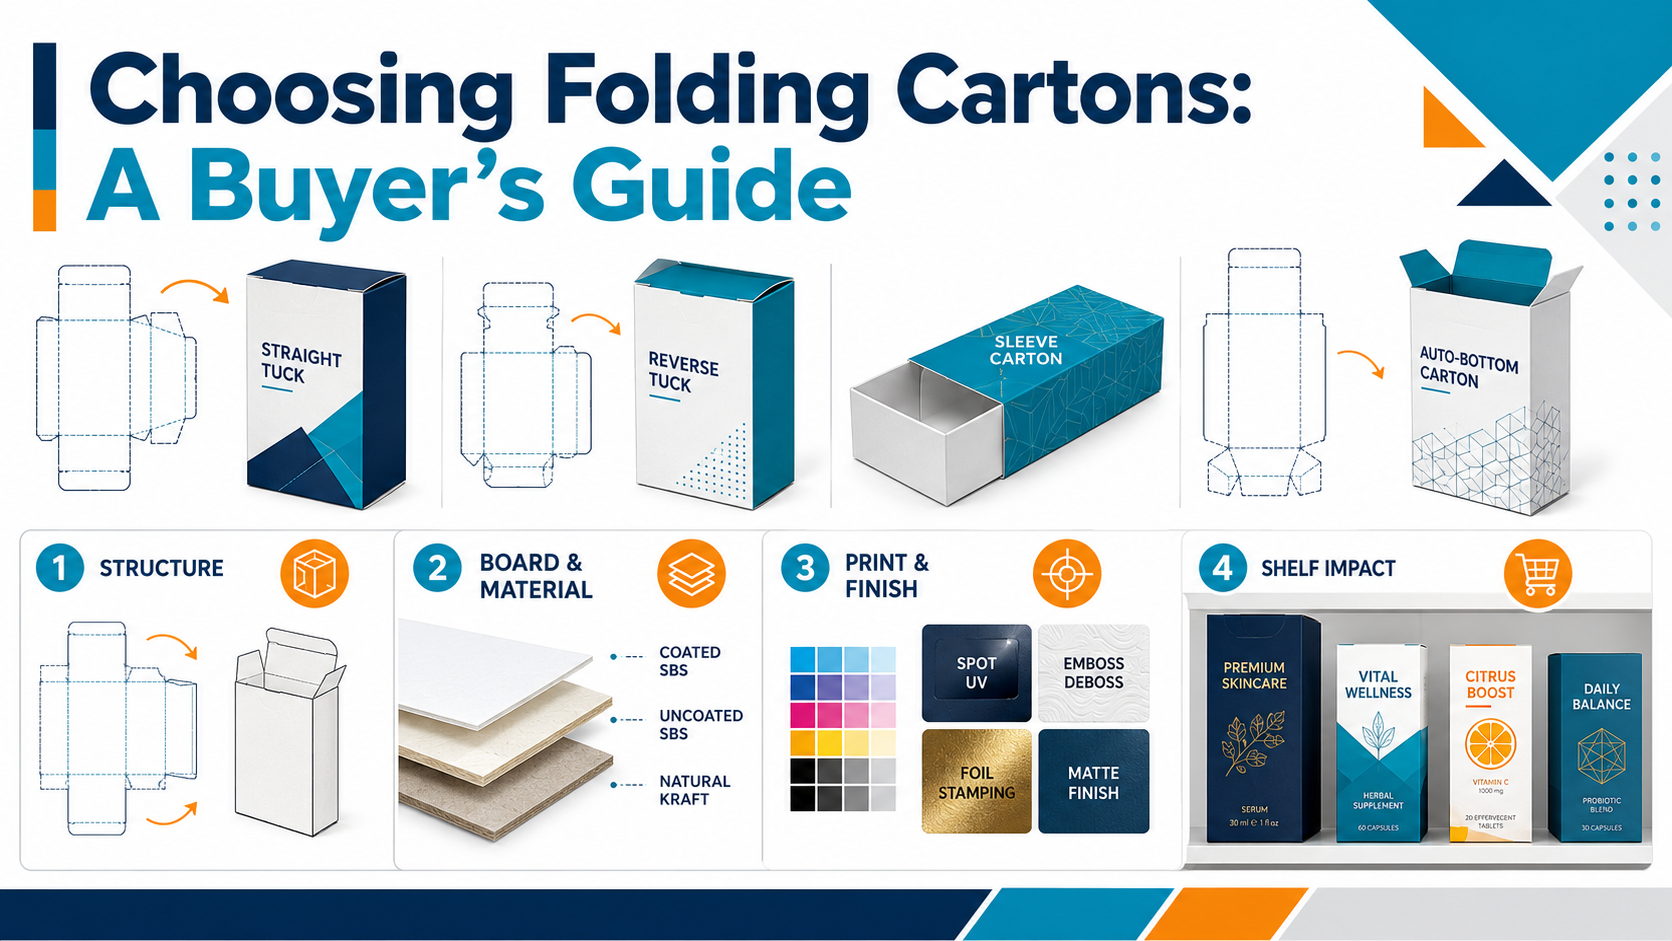
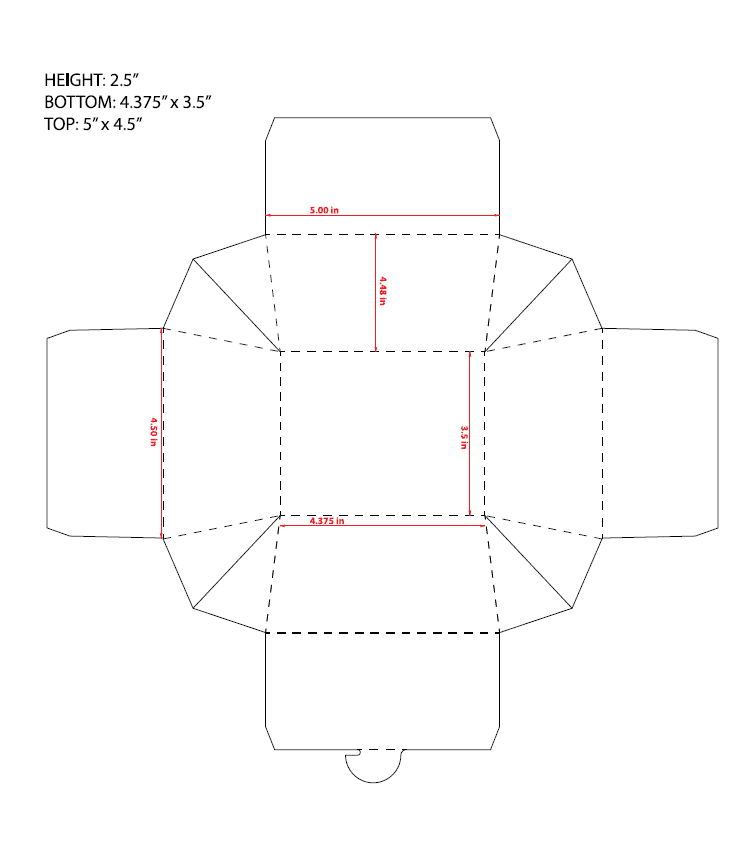
Folding Carton
Folding cartons are often treated as a simple retail packaging option, but the best folding carton programs are built around more than appearance. The right
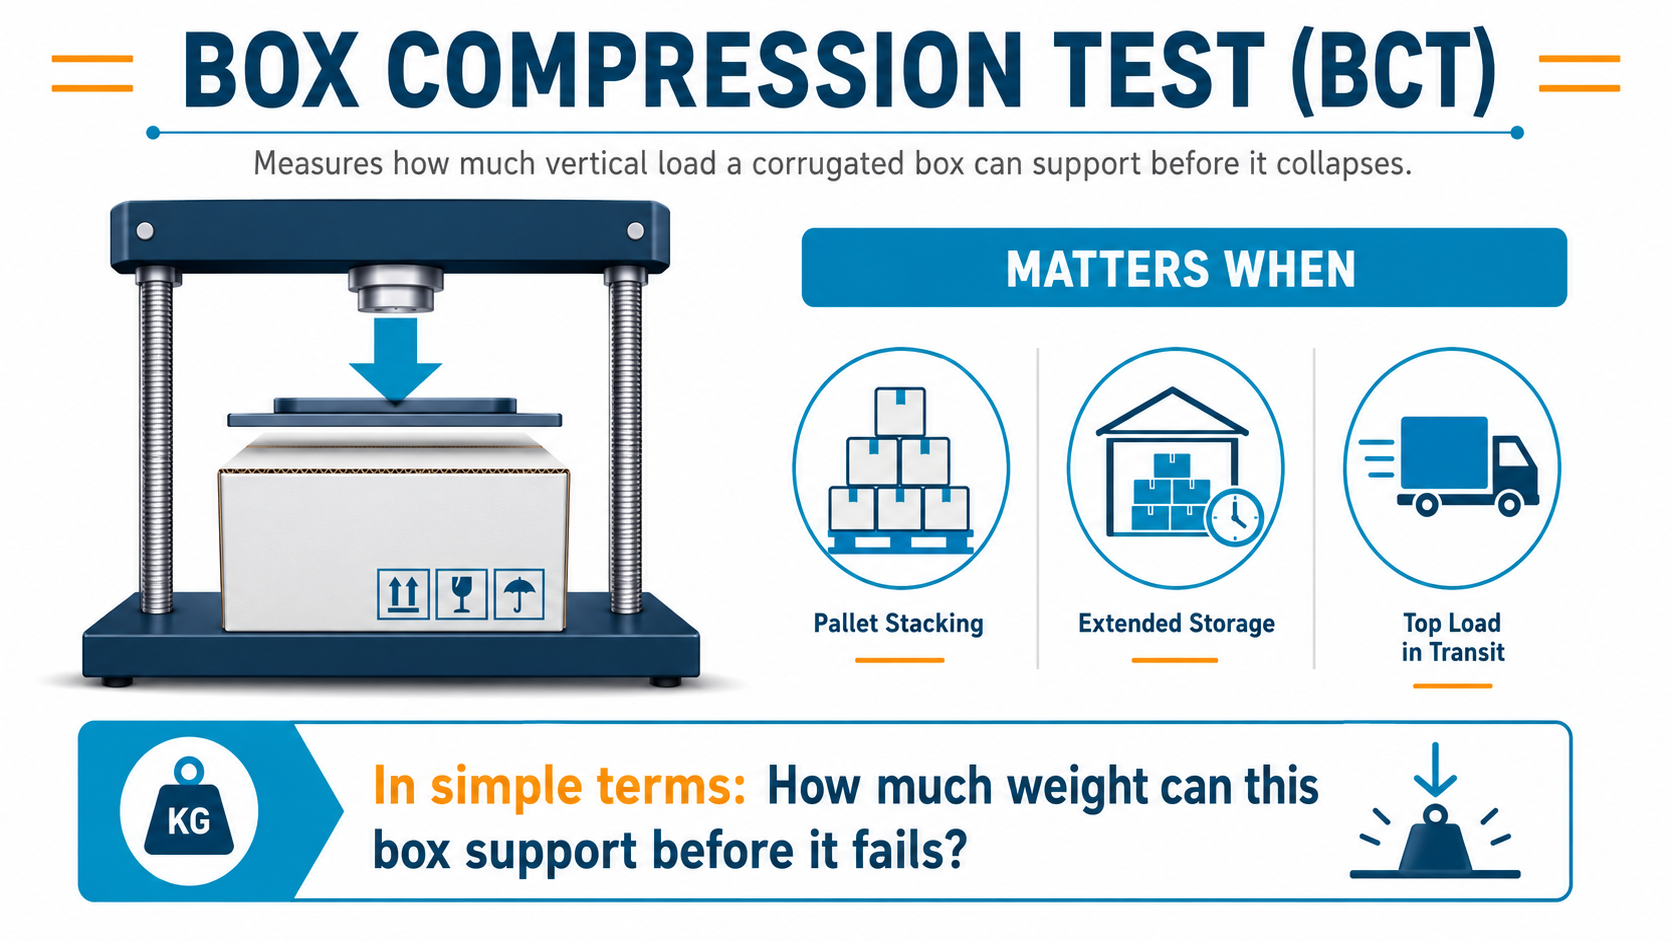
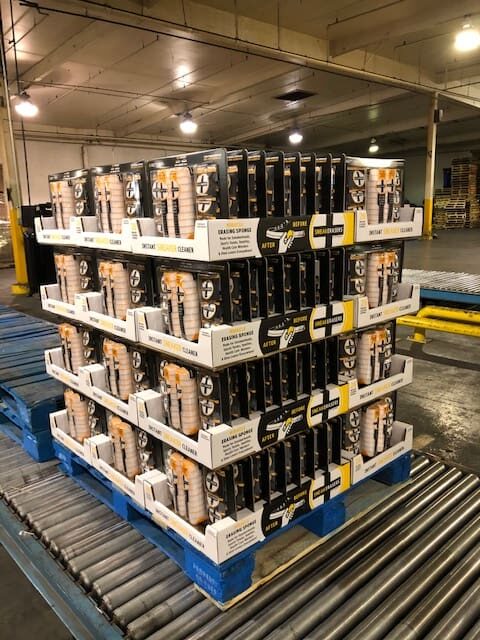
Corrugated
Box Compression Test (BCT) measures how much vertical load a corrugated box can last before it collapses. This matters when: Boxes are stacked on pallets