
Home » Custom Packaging Timeline: From Concept to Delivery
Custom Packaging Timeline: From Concept to Delivery
Creating custom packaging is a detailed process that requires careful planning and collaboration to ensure the final product meets your needs and expectations. Understanding the timeline for each phase—from design and sampling to delivery—helps manage expectations, streamline communication, and avoid delays.
This guide outlines the key stages in the custom packaging process, providing an estimated timeline for each step to help you plan effectively.
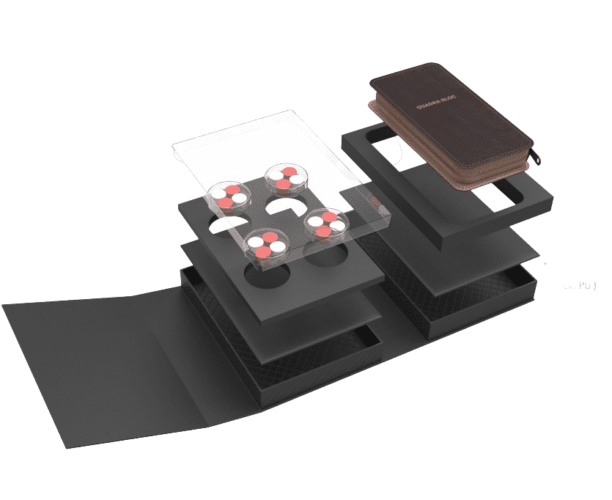
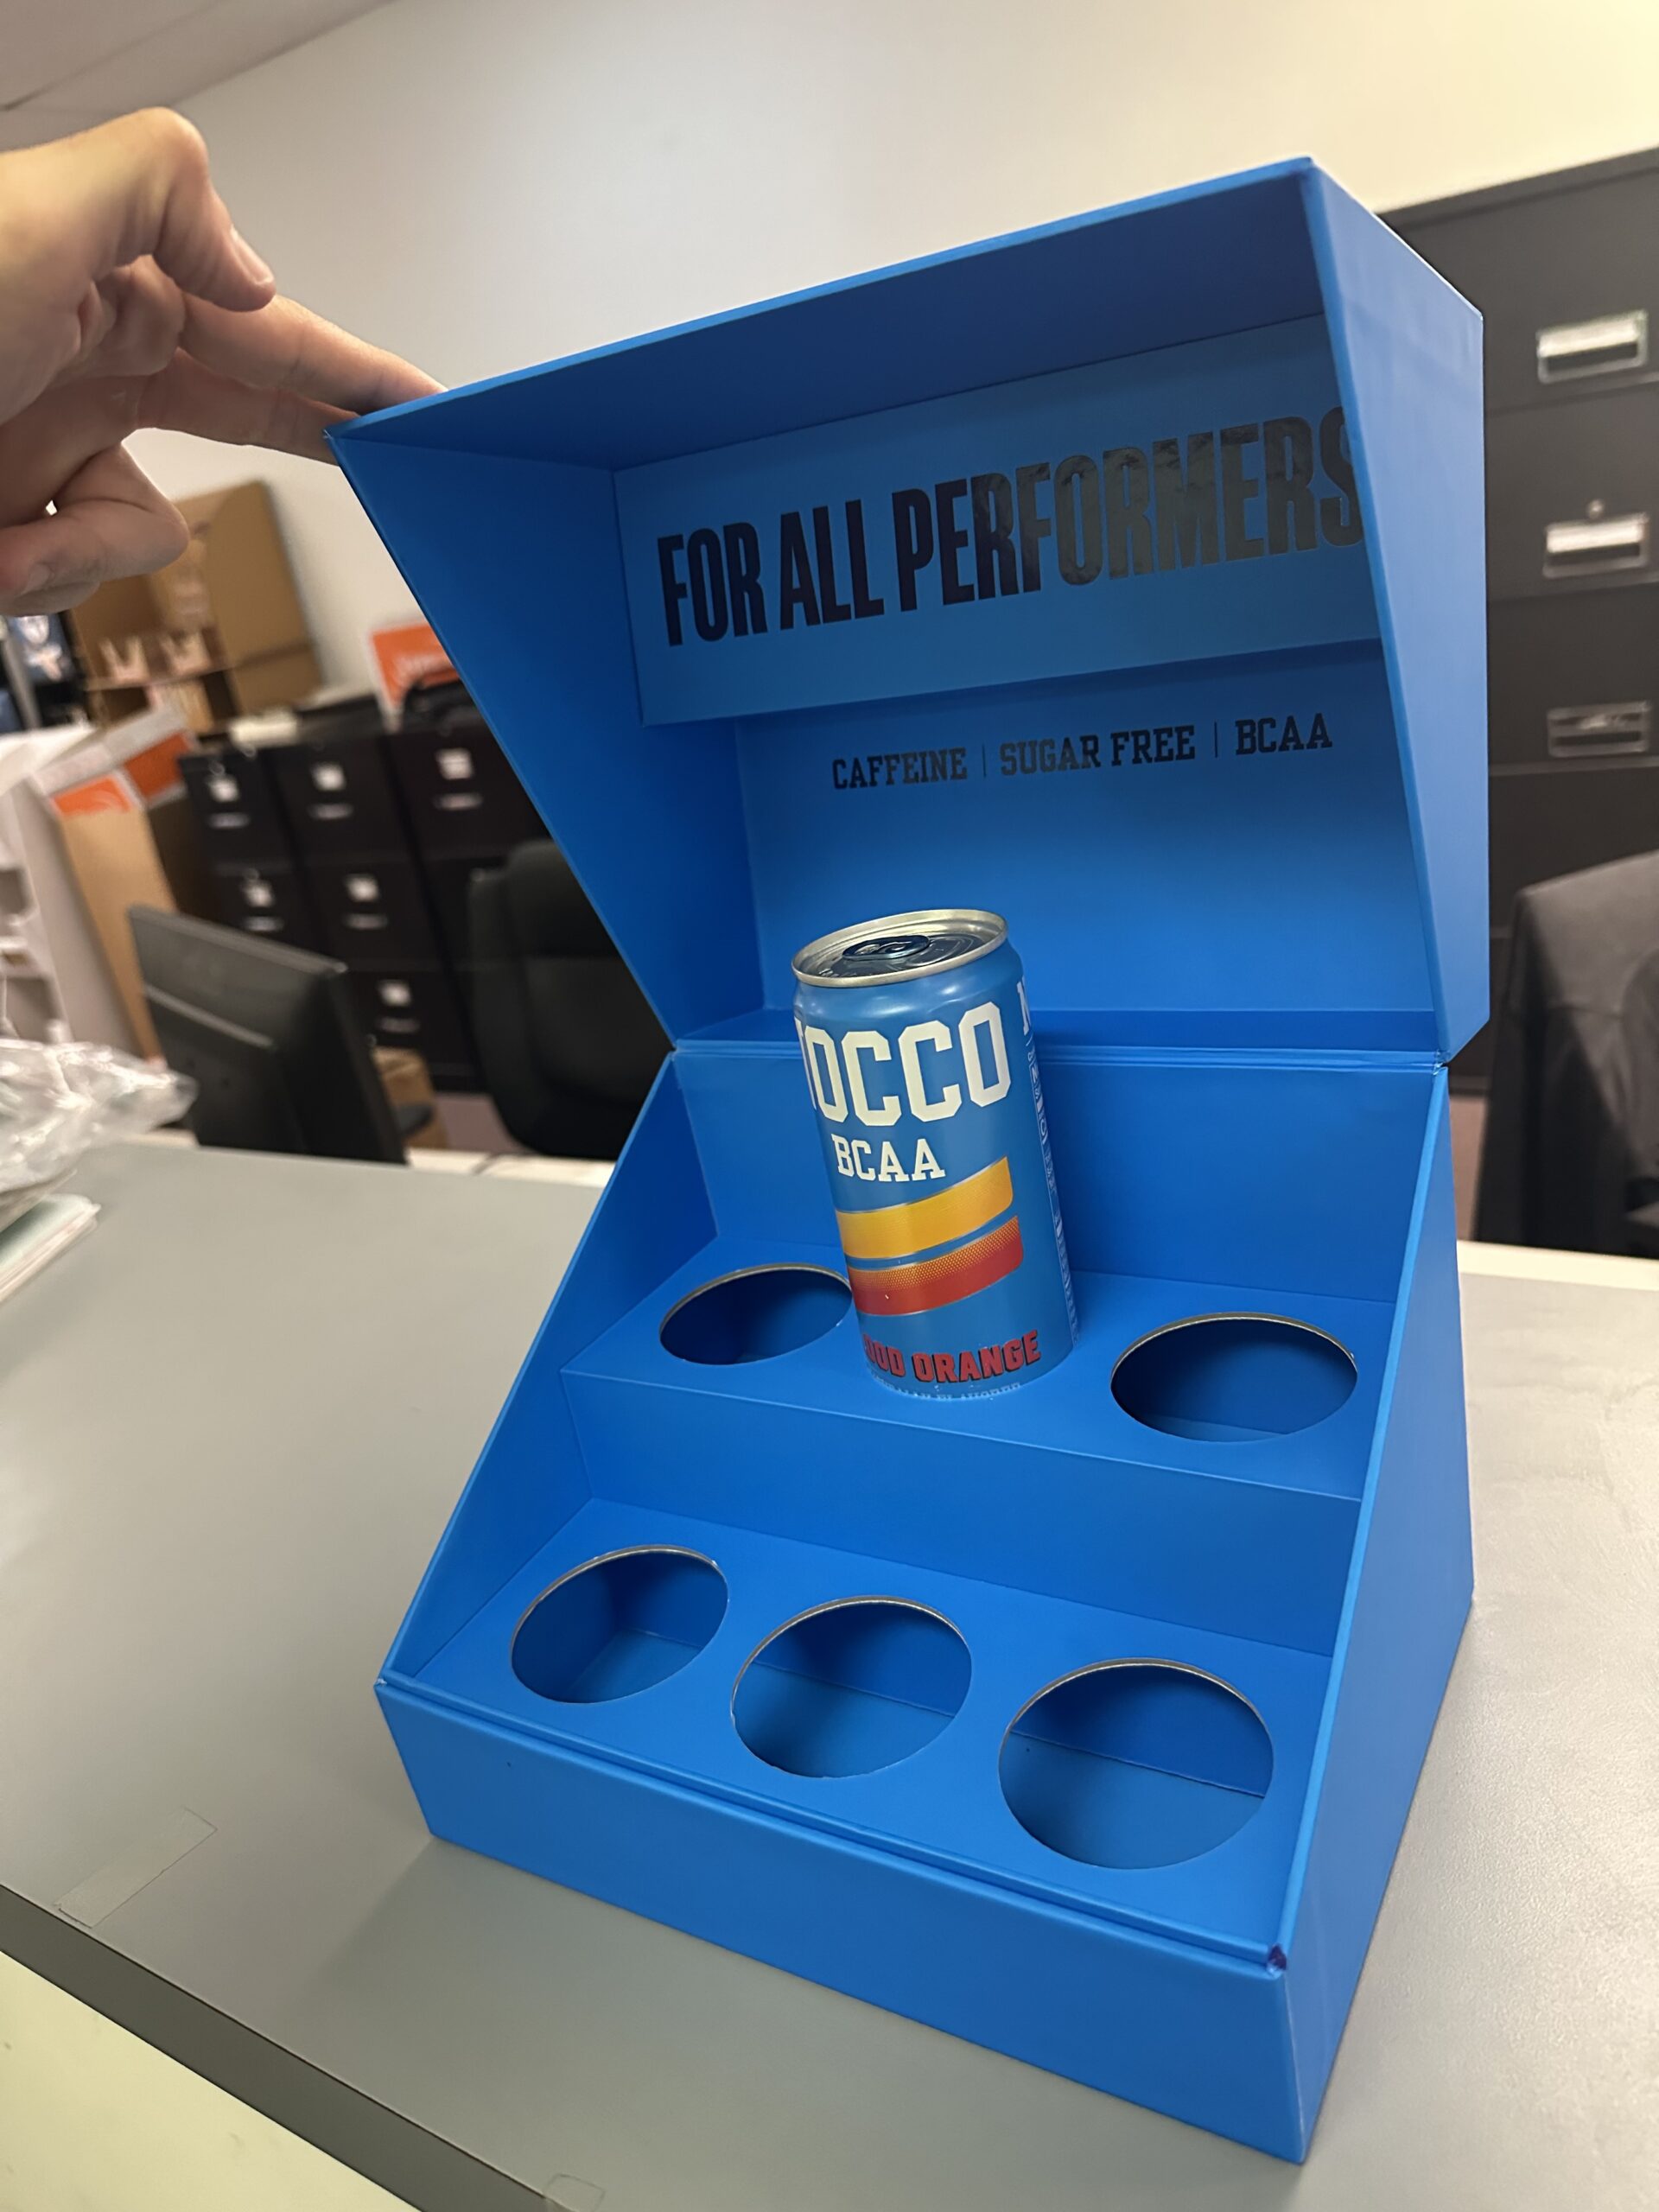
Phase 1: Design & Sampling
Estimated Time: 1–3 Weeks
This initial phase is where ideas are transformed into tangible concepts. It involves collaborating with a packaging design team to create a packaging solution that fits your product’s specifications, branding, and functional requirements.
Key Steps:
- Concept Development
- Discuss your product, budget, branding, and functional needs with the design team.
- Develop initial concepts and sketches.
- Prototyping & Sampling
- Create physical or digital prototypes based on approved designs.
- Test samples to ensure they meet quality, durability, and aesthetic standards.
Potential Delays:
- Changes in design direction.
- Delays in providing product dimensions or artwork files.
Phase 2: Art Approvals
Estimated Time: 1–2 Weeks
Once the design is finalized, it moves to the artwork stage. This is where all visual elements, including logos, colors, and text, are finalized and approved for production.
Key Steps:
- Artwork Preparation
- Designers prepare print-ready files based on your approved design.
- Mockups are reviewed to ensure all elements align with brand guidelines.
- Approval Process
- Review proofs and request any necessary changes.
- Provide final approval to move forward with production.
Tips for Efficiency:
- Provide high-resolution logos and branding assets upfront.
Assign a dedicated point of contact for approvals to avoid delays
Phase 3: Tool Manufacturing
Estimated Time: 2–4 Weeks
For custom packaging, tooling may be required to create the unique shapes, cuts, and designs specified in your order. This involves producing molds, dies, or plates to prepare for production.
Key Steps:
- Tool Design
- Engineers design custom tools based on approved specifications.
- Tool Production
- Manufacturing the tools required for cutting, printing, or shaping packaging materials.
Potential Delays:
- Revisions to specifications after tooling has started.
- Complexity of tooling for intricate designs.
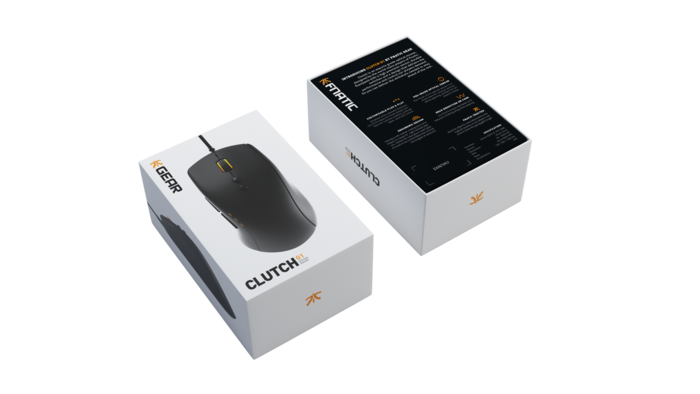
Phase 4: Production
Estimated Time: 3–6 Weeks
With designs approved and tools ready, production begins. The timeline for this phase depends on the complexity of your packaging, the materials used, and the order quantity.
Key Steps:
- Material Procurement
- Sourcing of materials like cardboard, plastics, or printing inks.
- Printing & Assembly
- Printing artwork onto materials.
- Assembling packaging components, such as folding cartons or rigid boxes.
- Quality Control
- Inspecting samples from the production line to ensure consistency and quality.
Tips for Managing Production Time:
- Confirm order quantities and specifications before production begins.
- Choose materials that are readily available to avoid sourcing delays.
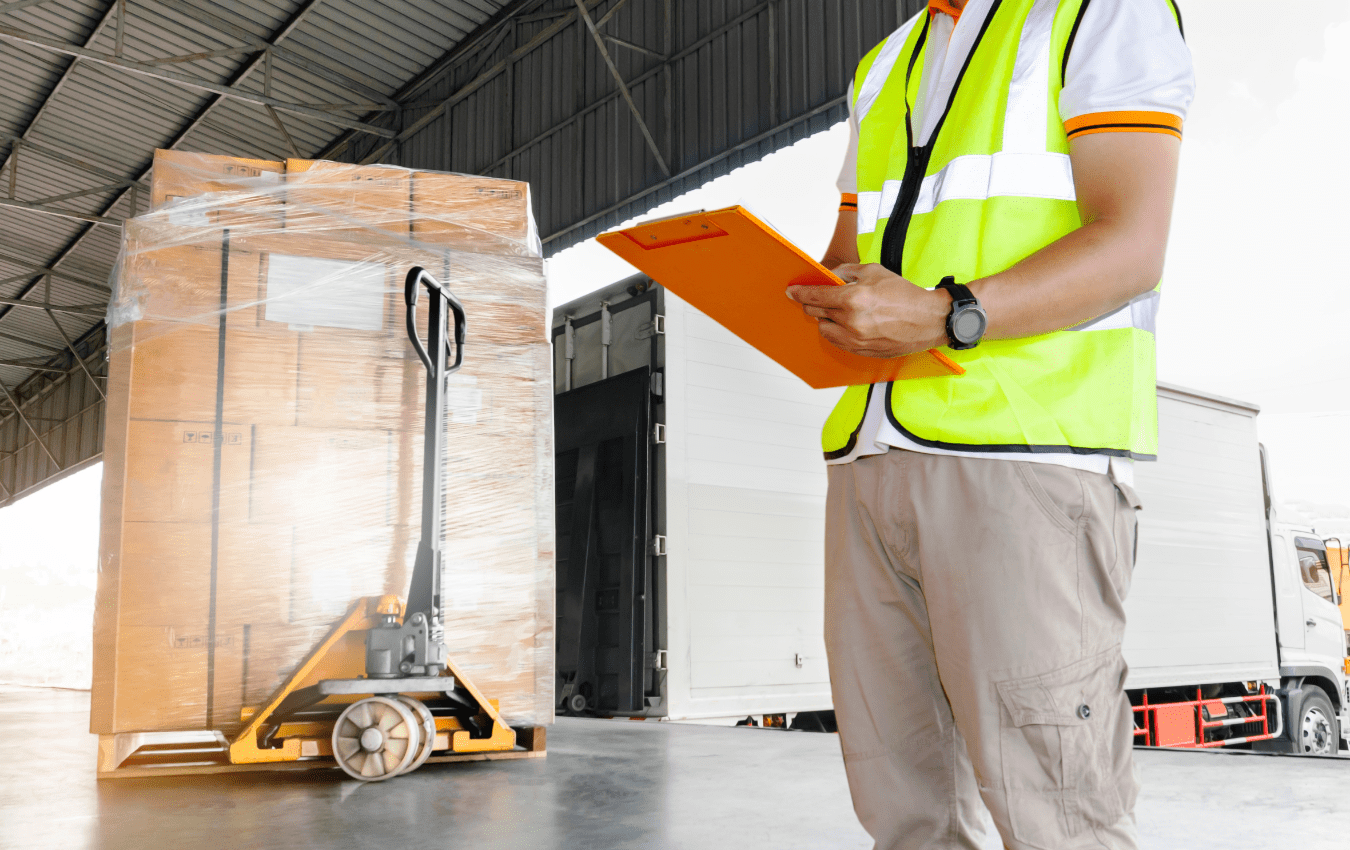
Phase 5: Delivery
Estimated Time: 1–3 Weeks
Once production is complete, your packaging is packed and shipped to your designated location. Delivery times depend on shipping methods and distances.
Key Steps:
- Packaging & Logistics
- Packaging your order for safe transit.
- Coordinating with logistics partners for shipping.
- Final Delivery
- Track shipments to ensure timely delivery.
- Receive and inspect the order for any damage or discrepancies.
Potential Challenges:
- Shipping delays due to weather or logistical issues.
- Customs clearance for international deliveries.
Estimated Total Timeline
Phase | Estimated Time |
Design & Sampling | 1–3 weeks |
Art Approvals | 1–2 weeks |
Tool Manufacturing | 2–4 weeks |
Production | 3–6 weeks |
Delivery | 1–3 weeks |
Total Time | 8–18 weeks |
Tips to Keep Your Project on Schedule
- Communicate Clearly
- Provide detailed specifications and feedback promptly at every stage.
- Plan Ahead
- Start the custom packaging process early to account for unexpected delays.
- Work with Trusted Partners
- Choose a reliable packaging supplier with a proven track record for meeting deadlines.
- Avoid Last-Minute Changes
- Finalize designs, quantities, and materials before production begins.
Conclusion
Creating custom packaging is a multi-step process that requires time and collaboration. By understanding the timeline and potential challenges at each phase, you can plan your project effectively and ensure a smooth transition from design to delivery.
Ready to start your custom packaging project? Contact us today to discuss your needs and get started on a timeline tailored to your business!
Print is one of the biggest cost drivers in POP displays—and one of the most misunderstood. Most decisions are made based on how it looks, not when it makes sense.
There’s no universal “better” option—but there is a better fit depending on your program. Brands often default to flat-pack to save on freight or pre-assembled for convenience, without fully understanding
Most packaging cost discussions focus on unit price. Very few quantify the financial impact of obsolete inventory. Yet for many brands and industrial programs, packaging obsolescence quietly erodes margin more
Most brands invest in POP displays without clearly measuring performance. They look at sales after rollout and assume the display worked—or didn’t. But without isolating variables, that’s just guessing. If
By submitting your information, you agree to our terms and conditions and privacy policy.
Home » Custom Packaging Timeline: From Concept to Delivery

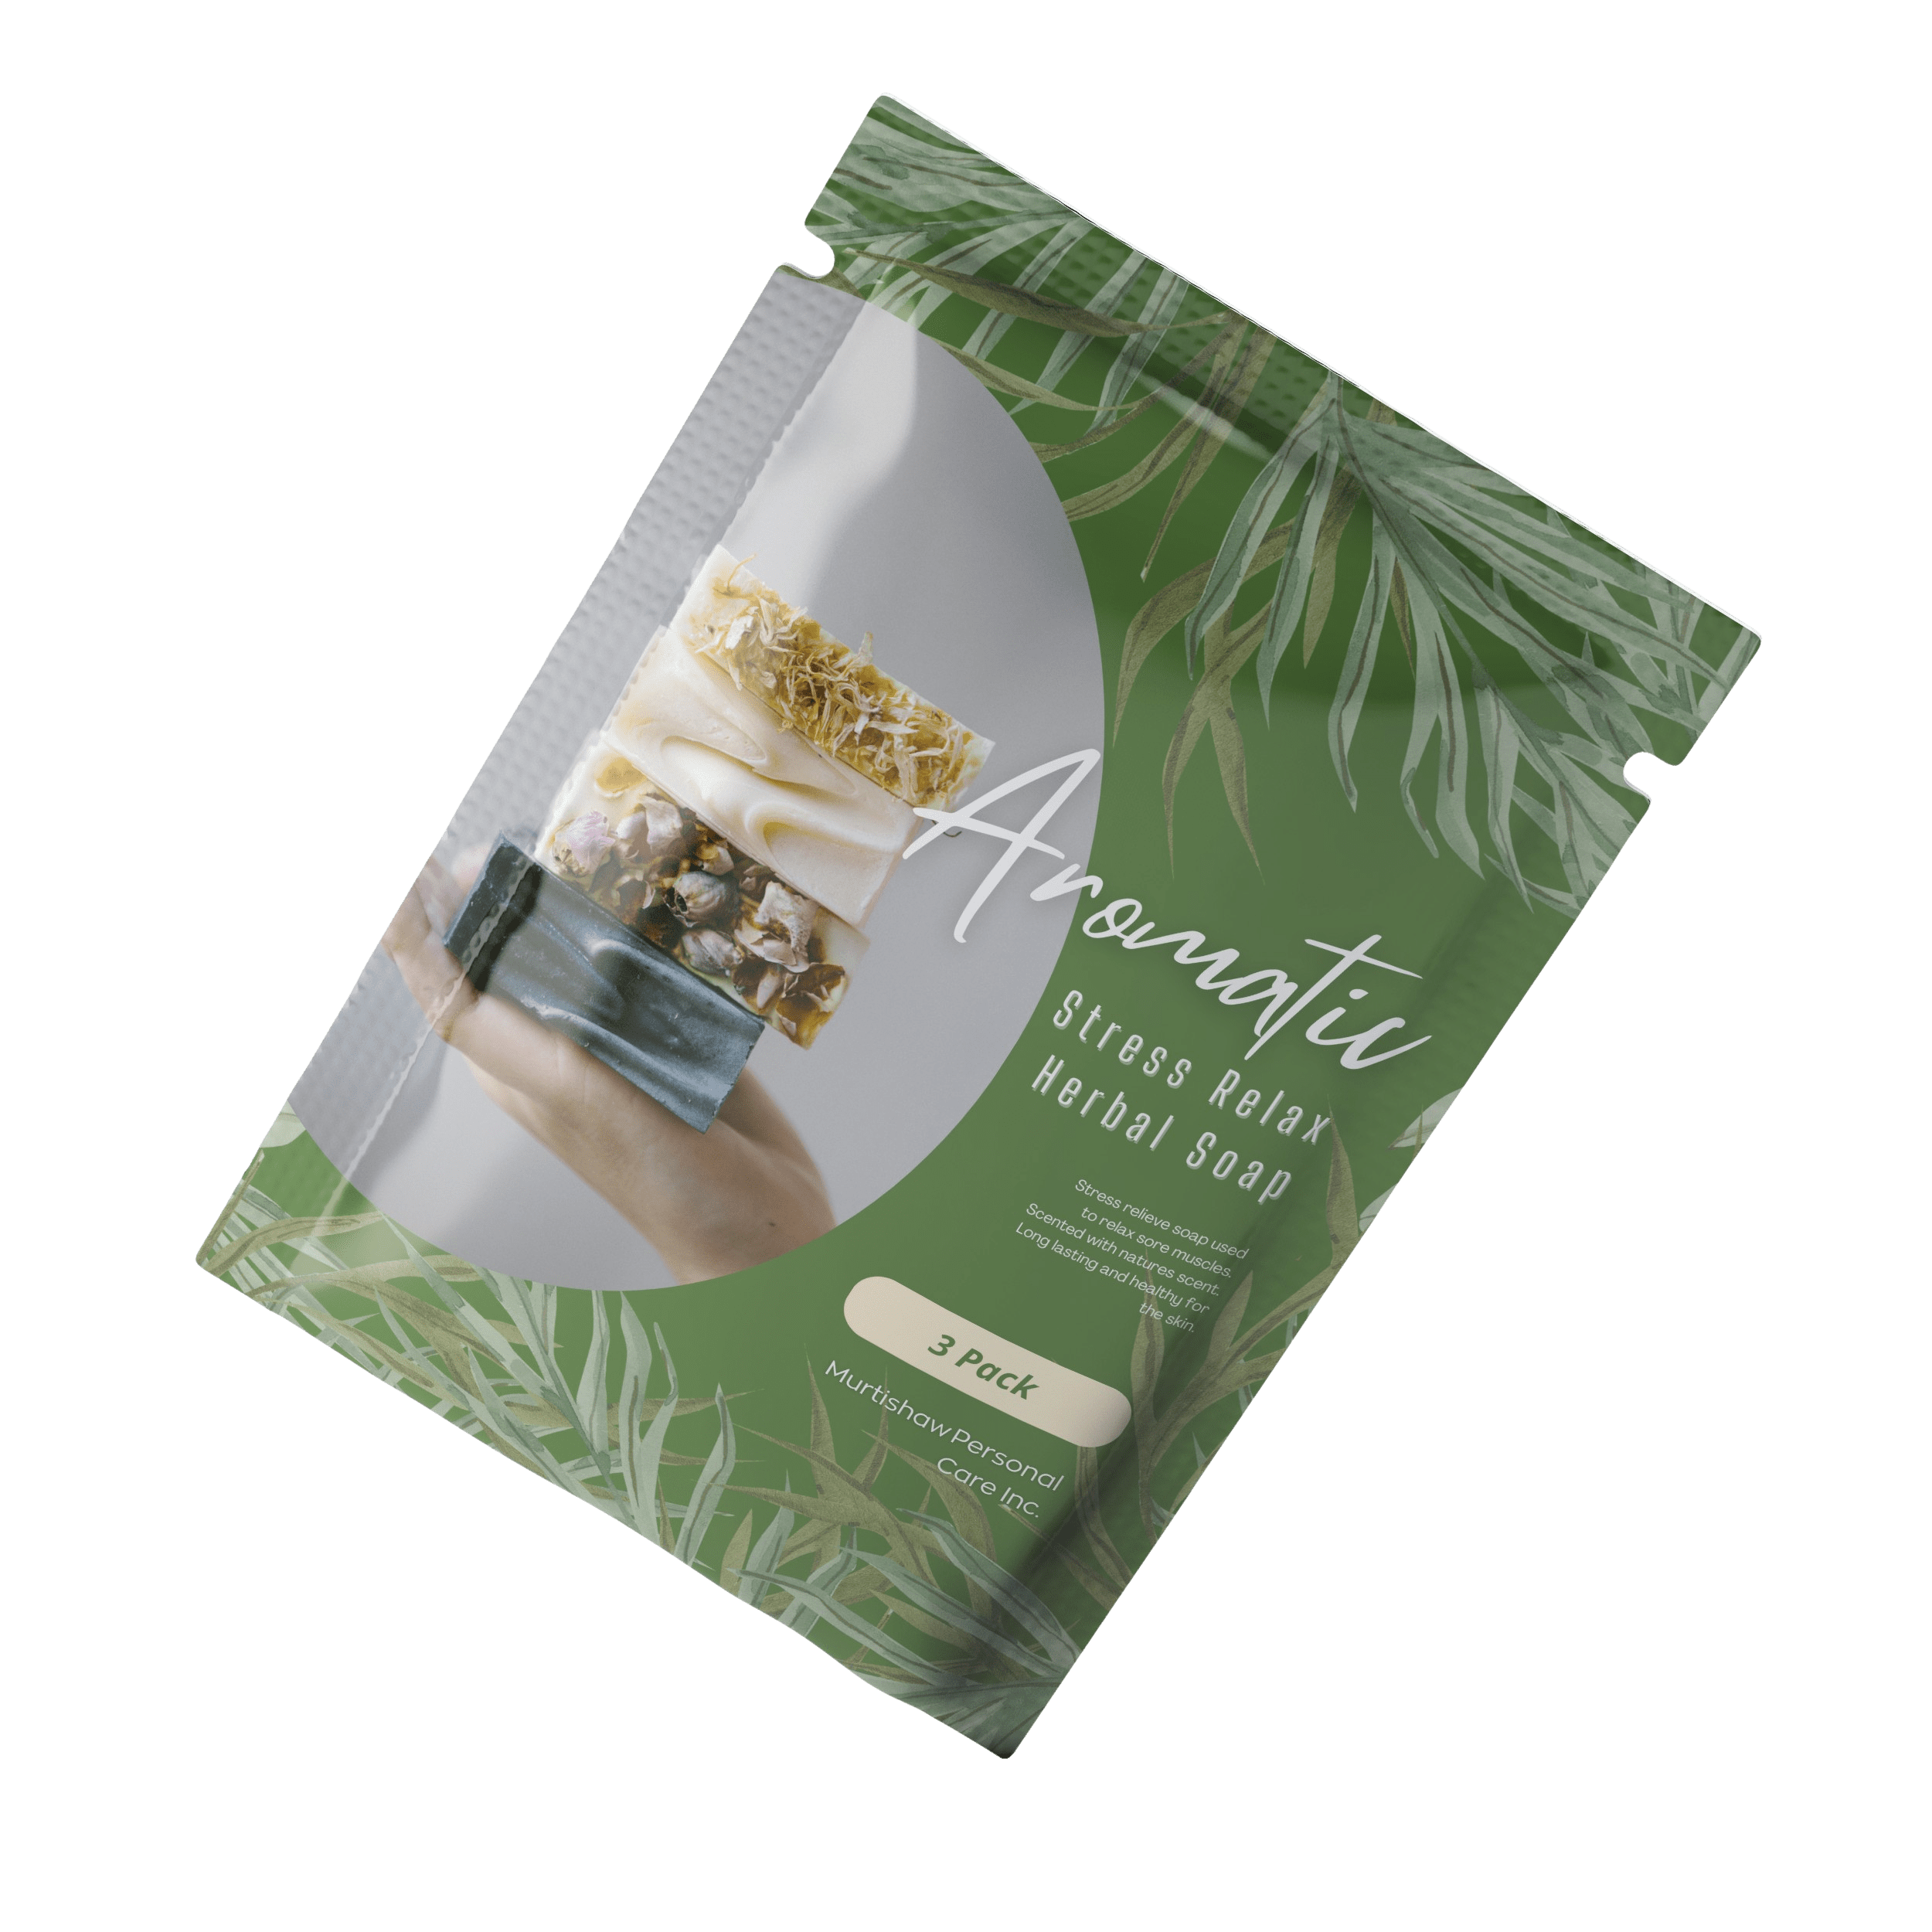
3-side sealed pouches are a type of flat pouches, which consists 3 sides sealed and 1 side open for filling. These pouches are inexpensive to
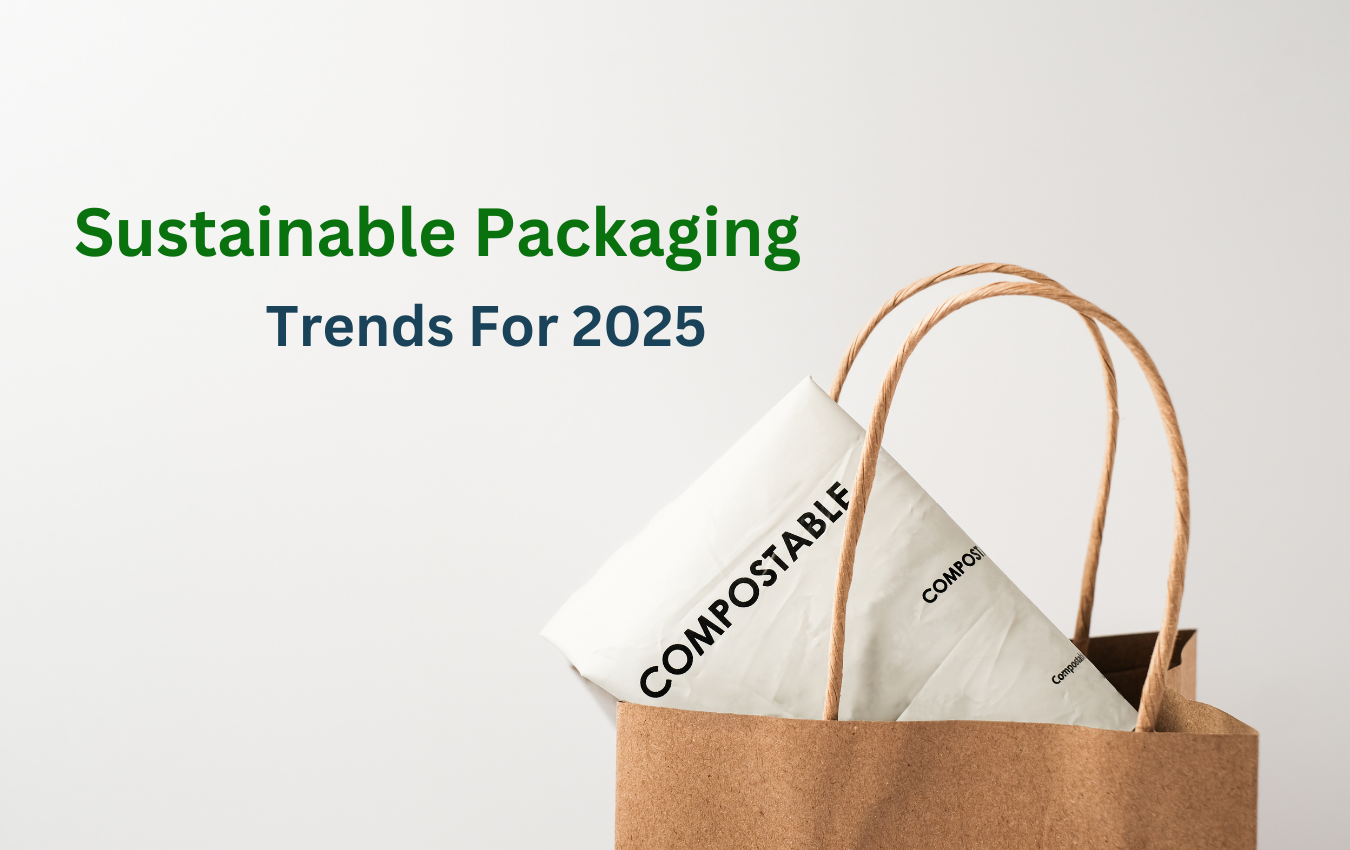
As environmental concerns continue to dominate consumer and regulatory conversations, the packaging industry is responding with innovative, eco-friendly solutions. In 2025, sustainable packaging will not
When planning a Point of Purchase (POP) display, the first and arguably most critical step is to clearly define your objectives. Setting specific, actionable goals